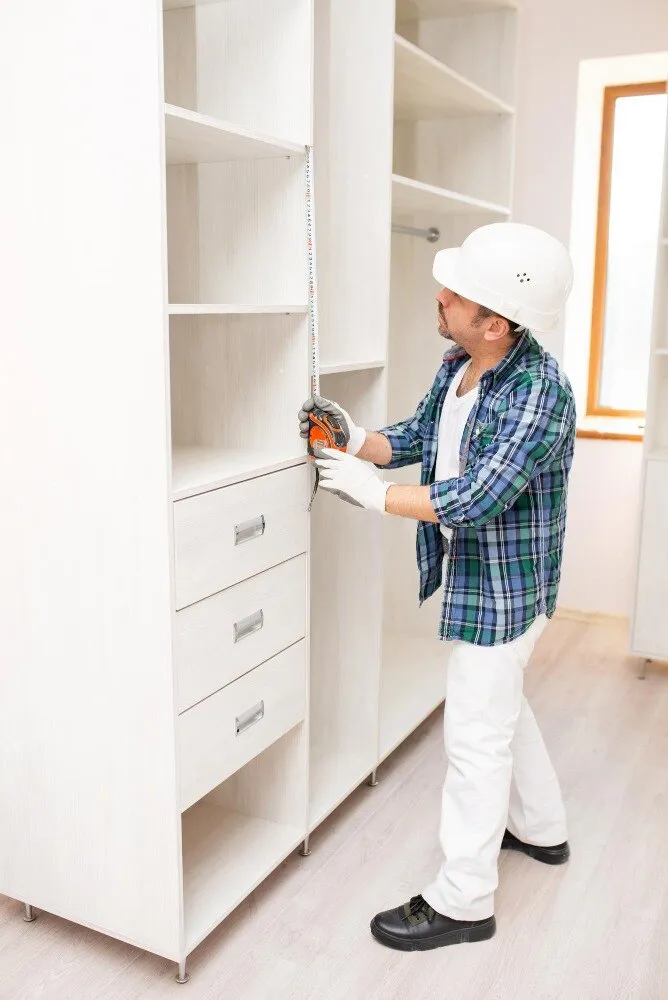
A wardrobe can lose usable storage before you place a single garment inside it. Uneven floors, damp walls, unfinished surfaces, wrong clearances and inaccessible services can lead to scraping shutters, jammed drawers and damaged boards; careful site checks and a documented handover help you prevent these failures.
Key takeaways
- Measure after flooring, skirting and ceiling work are complete.
- Check dampness, wall strength, wiring and plumbing before drilling.
- Leave clearance for hinges, drawers, handles and tall shutters.
- Test alignment, load capacity and access for repairs at handover.
Measure the Finished Room, Not the Incomplete Site
Taking wardrobe measurements before the flooring, skirting, wall cladding and false ceiling are finished can remove valuable storage space. A raised finished floor changes the available height, thick skirting reduces usable depth, and a ceiling bulkhead can stop tall shutters from opening fully.
The final survey must use finished surfaces and record:
- Finished floor level and any slope across the wardrobe run
- Wall-to-wall dimensions at floor, mid-height and ceiling level
- Wall plumb, corner angles and uneven recesses
- Skirting height and thickness
- False-ceiling drops, beams and other overhead obstructions
- Switches, sockets, curtain pelmets and door-swing zones
- The clear route for bringing panels through an apartment building
A few millimetres of error can become a visible gap, a twisted carcass or shutters that collide at an uneven corner. An oversized unit can block a bedroom door, while an undersized one leaves a dead strip that cannot hold drawers or shelves. Measure drawer fronts against the actual skirting, not the bare wall.
For wardrobe installation problems in Thane, take a final site measurement after civil and electrical work is complete, then compare it with the approved drawing before cutting panels. Mark every service point on the drawing; relocating a socket or changing a panel is easier before fabrication than after a fixed wardrobe exposes the mistake.
Check Dampness, Wall Strength and Hidden Services Before Fixing
Uneven floors, out-of-plumb walls, damp masonry and unidentified services must be resolved before the wardrobe is fixed. In modular wardrobe installation in Thane, correcting door hinges after fixing cannot repair a leaning carcass: hinged shutters can swing open, sliding shutters can drift, and drawers can bind.
Before drilling or levelling, check:
- Floor level across the full wardrobe length, including skirting thickness. Use a levelled platform or adjustable base instead of packing isolated corners.
- Wall plumb from floor to ceiling. Use scribed fillers to close irregular side gaps rather than forcing the carcass against masonry.
- Seepage, salt deposits, peeling paint and persistent dampness. Find and repair the leak, then confirm the masonry is dry with a moisture meter; a dry-feeling surface is not proof.
- Structural substrate behind the finish. Fix heavy wardrobes into concrete, solid masonry, studs or installed backing members, not plasterboard, hollow block faces or thin decorative panels alone.
- Electrical points, junction boxes and plumbing lines. Mark their locations before drilling, then relocate them or provide a service void or removable back panel.
| Condition | Safe to proceed when | Fix before installation |
|---|---|---|
| Uneven floor or wall | Base is level and wall is plumb | Platform, levelling or scribed filler |
| Damp masonry | Leak is repaired and moisture has cleared | Waterproofing and drying |
| Weak substrate | Anchors reach structural support | Add backing or change fixing points |
| Hidden services | Routes and access are recorded | Relocate, protect or create service access |
Design Clearances for the Hardware You Will Actually Use
A 600 mm deep wardrobe does not provide 600 mm of storage. Back panels, carcass sides, runners, hinge cups, sliding tracks and skirting consume space, so specify clear internal depth on the drawing.
- Hinged-door sections: allow about 560–580 mm clear internal depth for hangers, with a 600–650 mm unobstructed swing zone in front. If the bed or door sits inside this zone, the shutter will hit it.
- Sliding-shutter sections: allow roughly 650–700 mm overall depth for overlapping shutters and tracks, while preserving about 560–580 mm clear behind the doors. A shallow carcass can make clothes rub against the shutters.
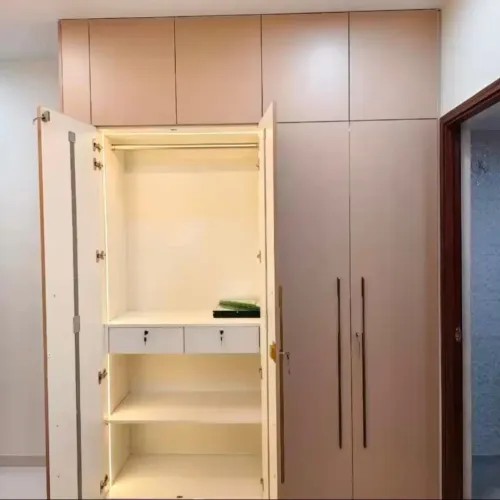
- Drawer sections: provide at least 450–500 mm clear internal depth and check the runner’s required side and rear space. Leave the drawer’s full projection clear; a skirting board or nearby door can stop it opening.
- Loft units: match the loft depth to the wardrobe only after checking the ceiling bulkhead, curtain pelmet and shutter opening. Keep access to hinges, lift-up fittings and removable panels; a loft that reaches the ceiling but cannot be serviced wastes storage.
- Walk-in sections: keep 900 mm as a practical minimum aisle between opposing storage faces; 1,000–1,200 mm feels less cramped and allows drawers or hinged doors to open safely.
Record finished skirting thickness, electrical points and door swings before finalising these dimensions. Level the base first: correcting an uneven carcass with hinges leaves inconsistent gaps and drifting shutters.
Choose Between Standard Modules and Custom Site-Fitted Interiors
A factory-made modular wardrobe suits a square, plumb room with finished flooring, regular wall lengths and no obstruction beside the doors. It becomes a poor fit when standard carcass widths leave narrow gaps that collect dust or make drawers and shutters difficult to use.
| Option | Suitable site | What to specify |
|---|---|---|
| Factory-made modules | Straight walls, level floor, standard ceiling height and clear service points | Board specification, edge-sealing method, hardware load rating and fixing method |
| Site-fitted modules | One uneven wall or a small variation in width | Levelled platform, scribed fillers and full-height end panels |
| Custom wardrobe interiors in Thane | Columns, beams, angled corners, deep skirting, bulkheads or irregular apartment rooms | Structural fillers, removable access panels and intentional service voids |
Do not fill a leftover sliver with a loose shelf. It creates a weak edge and a dirt trap; use a fixed filler or end panel that keeps the shutters aligned and leaves hardware accessible.
A wardrobe fixed directly to an uneven floor can produce doors that swing open, drawers that bind and gaps that widen from one side to the other.
When comparing a modular wardrobe manufacturer in Thane, ask for a drawing showing every filler, panel and access point, not only the cabinet widths. Makwana Modular Kitchen is one local option to evaluate against that drawing, the written fixing scope and the warranty’s treatment of alignment or site-related failures.
A “waterproof wardrobe” label does not identify the board, cut-edge protection or service coverage.
Related product
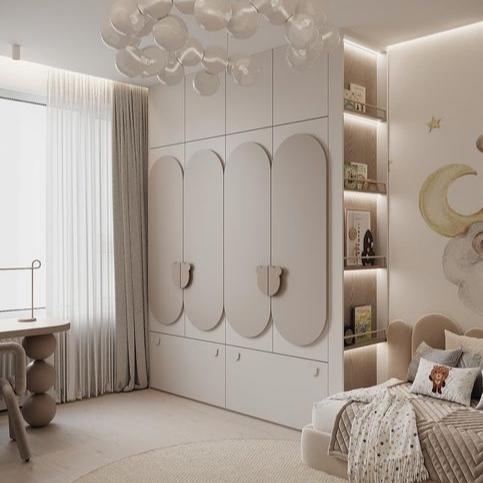 | Wardrobe Wardrobe Makwana Modular Kitchen, located in Thane, Maharashtra, offers stylish and functional wardrobe design solutions for modern homes. |
Inspect Alignment, Load Capacity and Serviceability at Handover
Do not approve the handover after a visual glance. These checks catch wardrobe installation problems in Thane while the installer, tools and adjustment parts are still available.
1. Check level and plumb with a spirit level. Inspect the base, side gaps and top line; uneven gaps, a door that swings open, drifting sliding shutters or binding drawers indicate a carcass fixed to an uneven floor or wall.
2. Operate every hinged shutter, sliding shutter and drawer repeatedly. Confirm that drawers clear the skirting, shutters do not collide, soft-close mechanisms work, handles are tight and rails remain firmly fixed under a representative test load.
3. Test storage strength before filling the wardrobe. Press each shelf lightly, inspect shelf pins and brackets, and ask for the board specification, hardware model and stated load rating. Shelves that sag or flex now will fail sooner under clothes and luggage.
4. Inspect laminate edges, cut-outs and floor-level panels for sealed edges, chips or swelling. Remove every designated access panel and confirm that electrical points, junction boxes and plumbing lines remain reachable without dismantling the carcass.
5. Record defects, photographs, promised corrections and warranty exclusions on the handover sheet. For modular wardrobe installation in Thane, do not accept “waterproof” as a specification unless moisture-resistant board, edge sealing and covered alignment failures are stated in writing.
Frequently asked questions
Why should you measure a room after finishing work?
Flooring, skirting, wall cladding and false ceilings change the wardrobe’s usable height, depth and shutter clearance.
What should you check before fixing a wardrobe?
Check wall dampness, wall strength, electrical wiring, plumbing and other hidden services before drilling or anchoring panels.
How do you plan wardrobe clearances correctly?
Measure the operating space for the actual hinges, drawers, handles and shutters, including clearance beside walls and ceiling bulkheads.
When is a custom wardrobe better than standard modules?
Choose a custom site-fitted wardrobe for uneven walls, unusual dimensions or obstructions that prevent standard modules from using the space well.
What should you inspect at wardrobe handover?
Check panel and shutter alignment, anchor stability, shelf and drawer load capacity, smooth operation and access to serviceable hardware.
Keywords